Data Migration Guide: V1 to V2
Important Prerequisites
Before starting the migration, please ensure:
-
Time: Allow enough time; the process can take a while depending on the number of sessions.
-
Device availability: Use a device you won’t need during migration so the app can run uninterrupted.
-
Internet connection: Use a fast, stable connection. We recommend doing this at home, not while traveling. Interruptions can cause errors.
Step-by-Step Migration Process
Step 1: First Launch After Update
After updating to V2 and launching the app for the first time, all sessions from V1 are prepared for synchronization. You can see the progress in a notification. Note: If you have very few sessions to migrate, the notification may appear only briefly or may not be visible, as the preparation process completes quickly.
Step 2: Grant Required Permissions
During the onboarding process, you will see a screen asking you to grant the permissions needed for migration. Important: The button to request permissions is only visible if required permissions are missing. If you already granted all necessary permissions, this step will be skipped automatically.
To proceed when the button is shown:
-
Tap the button to request permissions (e.g., “Grant Permissions” or similar).
-
When the system permission dialog appears, allow the requested permissions.
-
After granting permissions, the migration will start automatically.
These permissions are required for the app to process and synchronize your sessions.
Step 3: Account Registration or Login
V2 requires a user account:
-
New users: Register directly in the app.
-
Existing users: If you already created an account via the web version, log in with your credentials.
Step 4: Automatic Session Transfer
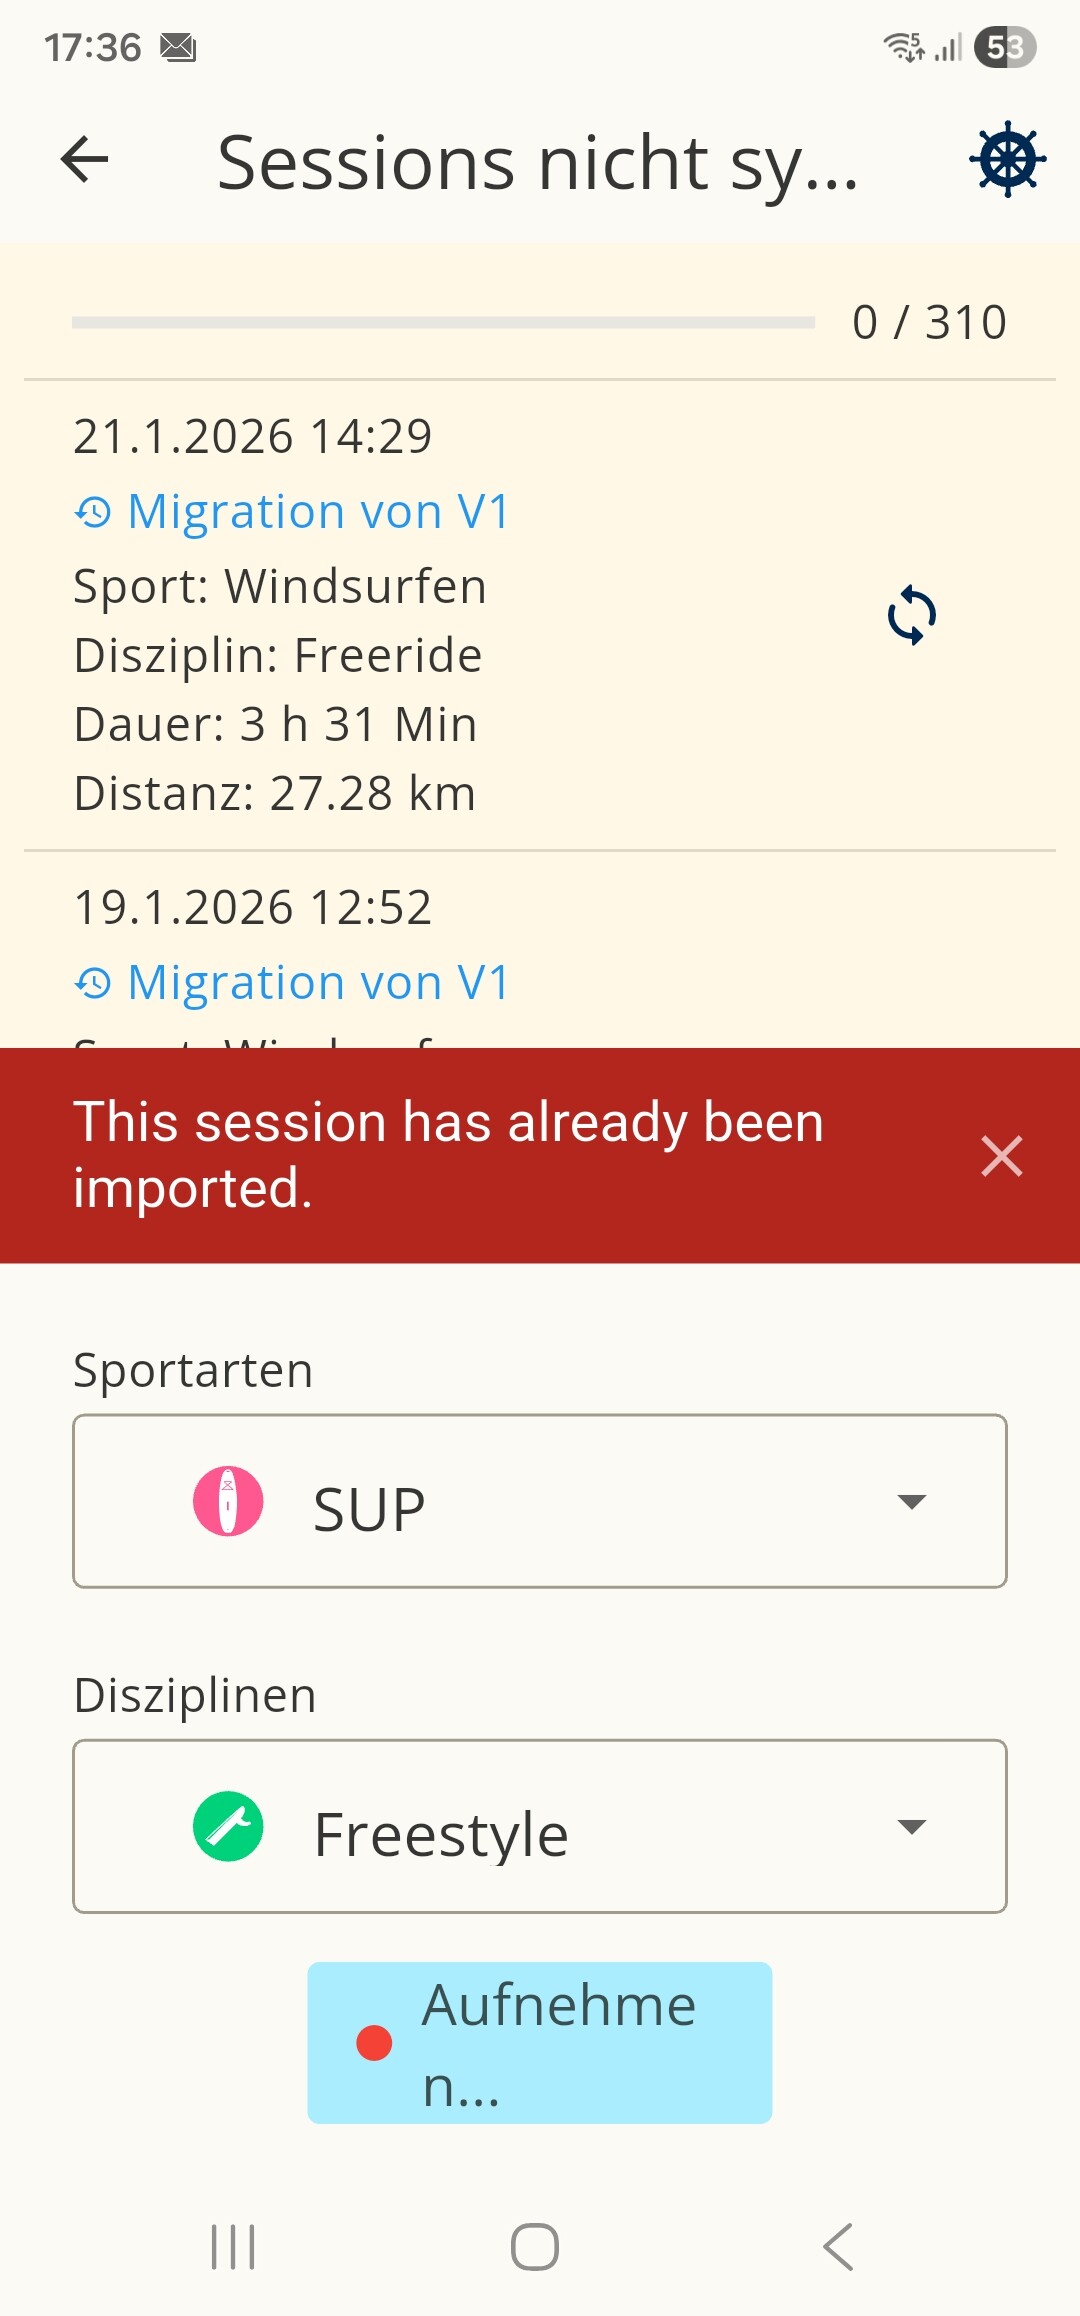
After successful registration/login, sessions from V1 are automatically transferred. To monitor progress:
-
Tap the two arrows icon at the top.
-
On the following screen, you’ll see all sessions that haven’t been synchronized from V1 yet.
Step 5: Wait for Completion
Wait for the migration to complete. Duration depends on the number of sessions.
Important: Do not close the app during this time. Keep it open and active.
Handling Errors
If some sessions fail to synchronize:
-
They remain in the local list.
-
You can retry them from there.
-
If a session still fails after a second attempt, you can:
-
Swipe left to delete it, or
-
Swipe right to archive it.
Archived sessions: If you archive a session, you can send it to support (support@sunbits.de). They will investigate and try to resolve the issue.
Completion
The synchronization is complete when:
-
The status of migrated sessions reaches the end state.
-
In most cases, the session list will be empty.
-
A message appears indicating that all sessions have been synchronized.
If You Didn’t Grant Permissions During Onboarding
If you didn’t grant the required permissions during onboarding, you can start the migration manually:
-
After logging in, go to your profile.
-
At the very top, there is a button to manually start the migration.
-
Then return to the logbook.
There you can use the two double‑arrow icon to reach the individual sessions and transfer them manually.
- Alternatively, you can close the app and let the process start automatically.
Need Help?
If you encounter problems during the migration, please contact our support team at support@sunbits.de.